
DMARC Policy Optimization: Protecting Your Brand and Boosting Email Deliverability
DMARC Policy Optimization Explained
It’s a must-have
DMARC is no longer just a “nice-to-have.” It’s a must-have for protecting your brand’s reputation and ensuring your email campaigns actually land in the inbox. Whether you’re in marketing, sales, or IT — understanding DMARC means you’re in control of who can send as you.
How to Stop Email Spoofing Without Losing Legitimate Mail
If you’re a marketing expert managing your brand’s emails, there’s a good chance you’ve heard of DMARC — especially if someone warned you about email spoofing, spam complaints, or the need for BIMI and better deliverability. But for many, DMARC is still a mystery. It shows up as a weird-looking TXT record in your domain settings. If you’ve seen something like this…
v=DMARC1; p=none; rua=mailto:dmarc-reports@yourdomain.com
… and weren’t quite sure what it does, this article is for you.
Let’s break it all down — in simple wording — and then show you how to optimize your DMARC policy for security, brand reputation, and email performance.
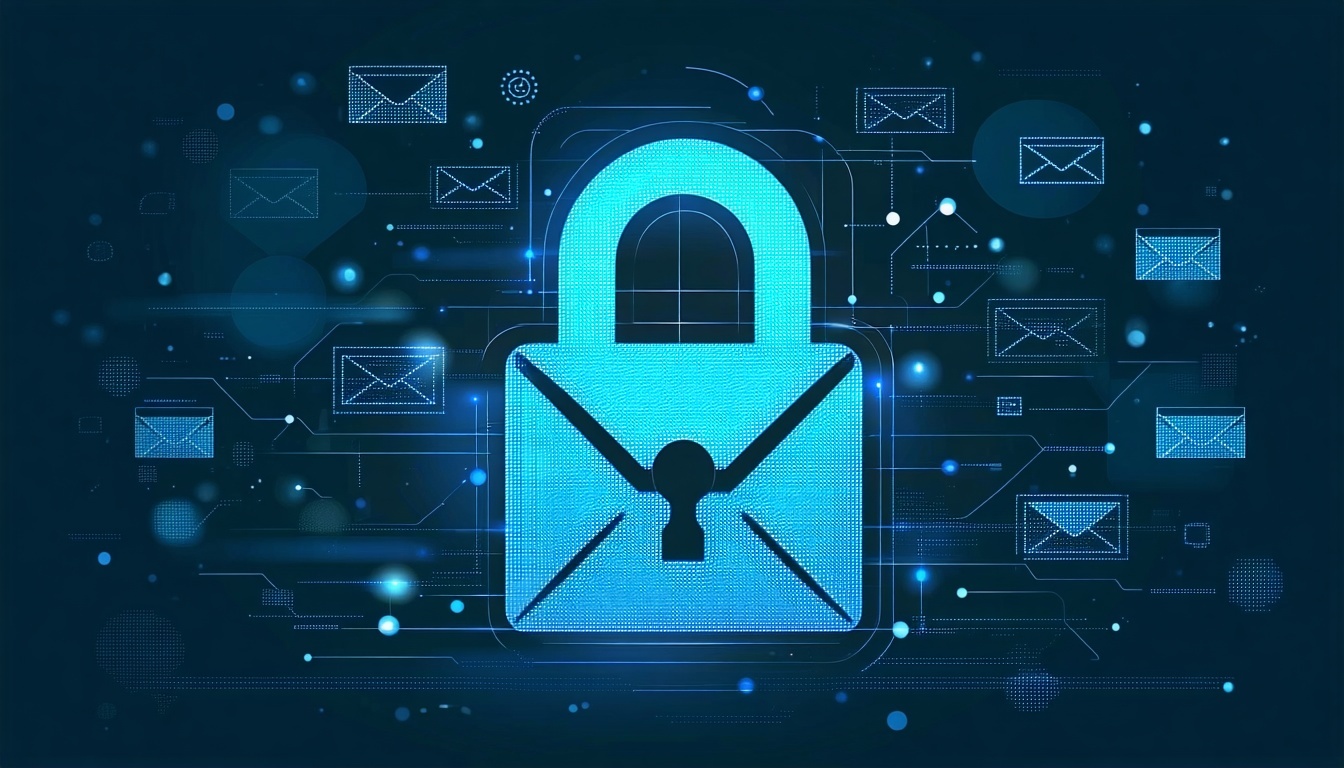
DMARC stands for Domain-based Message Authentication, Reporting & Conformance

DMARC builds on two older email authentication methods:
-
SPF (Sender Policy Framework) — defines which servers are allowed to send mail on behalf of your domain.
-
DKIM (DomainKeys Identified Mail) — adds a digital signature to your email headers to verify the message wasn’t altered.
DMARC adds the final layer: policy enforcement and reporting.
Why You Need DMARC?
-
Prevent Spoofing: It stops bad actors from sending fake emails using your domain (like phishing or scams).
-
Protect Your Brand: If someone uses your domain for fraud, it can damage your brand reputation.
-
Email Deliverability: Email providers favor authenticated emails — DMARC helps your legit emails land in the inbox.
-
Enable BIMI: Want your logo to show next to your emails in Gmail or Yahoo? You must have a strong DMARC policy (with enforcement).
Anatomy of a DMARC Record
A DMARC record is a single line of text added to your domain’s DNS settings (usually in your hosting provider or domain registrar dashboard). Let's look at this example:
v=DMARC1; p=reject; rua=mailto:reports@yourdomain.com
Now let’s decode all the options you can use:
Tag |
What it does |
Example |
---|---|---|
v |
Version (always DMARC1) |
v=DMARC1 |
p |
Policy: what to do with failed emails |
p=none, p=quarantine, p=reject |
rua |
Aggregate report email (daily data) |
rua=mailto:reports@yourdomain.com |
ruf |
Forensic report email (per-fail data) (optional) |
ruf=mailto:alerts@yourdomain.com |
pct |
Percentage of emails to apply policy to |
pct=50 applies policy to 50% |
sp |
Subdomain policy |
sp=reject (policy for subdomains) |
adkim |
DKIM alignment: strict (s) or relaxed (r) |
adkim=s |
aspf |
SPF alignment: strict or relaxed |
aspf=r |
fo |
Forensic reporting options |
fo=1, fo=0, etc. |
The 3 DMARC Policy Modes
1. p=none
- Just monitor. Emails are not blocked.
- Use this to start collecting data.
- Best for the first 1–3 weeks.
2. p=quarantine
- Suspicious emails go to the spam folder.
- A good middle ground. You start filtering while keeping risk low.
3. p=reject
- Fully enforced. Email providers block unauthorized emails.
- Your best protection, required for BIMI and full trust.
- Use after verifying your senders are aligned (via reports).

How to Use Reports (RUA/RUF)
-
RUA: Daily aggregate reports (XML files) sent by inbox providers. Shows who is sending email on your behalf, whether it passed or failed SPF/DKIM, and where it came from.
-
RUF: Optional forensic reports for individual failures (often not widely supported due to privacy concerns).
DMARC Optimization Strategy (Step-by-Step)
1. Start with Monitoring
-
Set p=none, add rua=mailto:yourreports@yourdomain.com
-
Wait 1–2 weeks, collect reports.
2. Analyze Who’s Sending
-
Use the reports to identify all legitimate senders (Mailchimp, Google Workspace, CRM tools, etc.)
-
Make sure each sender is set up with proper SPF and DKIM.
3. Fix Alignment Issues
-
Ensure DKIM and SPF records match your domain (d= and Return-Path).
-
Set adkim=s and aspf=s for strict alignment once you’re confident.
4. Move to Enforcement Gradually
-
Start with p=quarantine; pct=25, then raise to 50%, then 100%.
-
Finally set p=reject when confident.
5. Maintain and Monitor
-
Keep reports active. Even with p=reject, attackers may try new tricks.
-
Update your SPF and DKIM records when you add new platforms.
Need assistance? Schedule a meeting with us; we'll help you set everything up.
Example of a Strong DMARC Record
v=DMARC1; p=reject; rua=mailto:dmarc-reports@yourdomain.com; ruf=mailto:alerts@yourdomain.com; sp=reject; adkim=s; aspf=s; fo=1
This tells inbox providers:
1. Block all unauthenticated emails (p=reject)
2. Send reports to you daily (rua)
3. Be strict with alignment (adkim=s, aspf=s)
4. Enforce on subdomains too (sp=reject)
Protect your brand.
Improve deliverability.
Understand your email ecosystem.
Start your free DMARC visibility scan now